
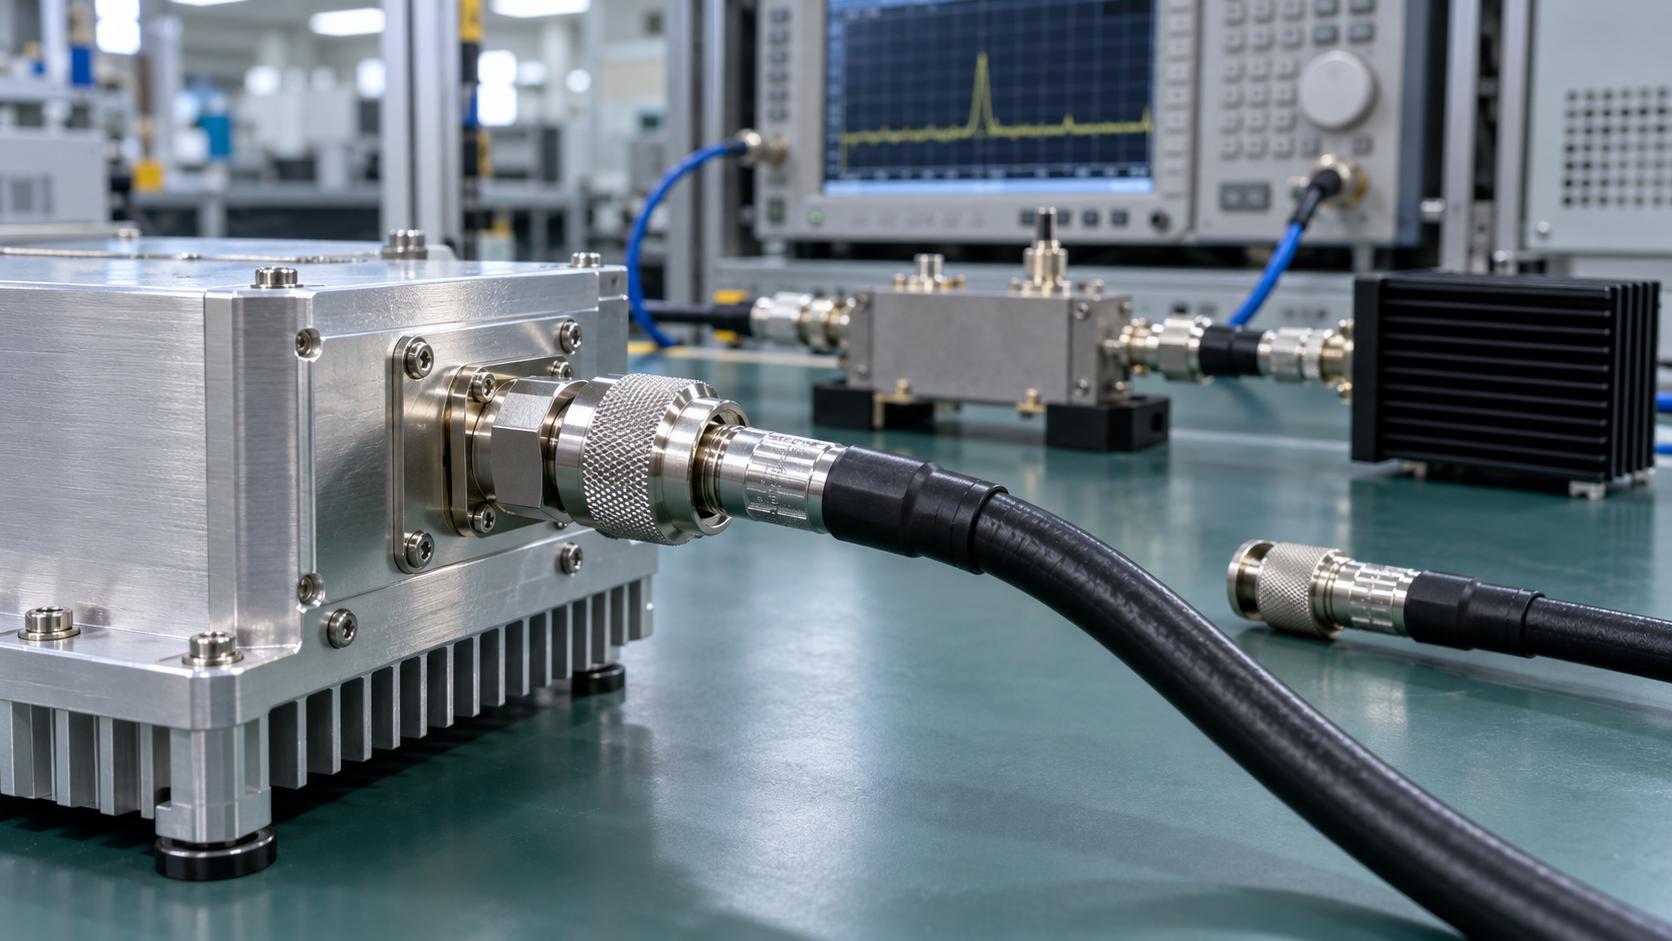
A reflected-power alarm that disappears after one cable assembly is replaced does not automatically mean the RF power amplifier is unstable. RF connector crimping problems can hide inside the termination: a recessed center pin, weak shield capture, distorted dielectric, wrong connector-to-cable match, or poor strain relief.
These faults can pass visual inspection and DC continuity checks. Under RF load, they can still change impedance, reflected power, local heating, or measurement repeatability.
Start with an approved reference cable assembly whose identity and RF behavior have already been verified for the defined comparison conditions. Keep frequency, measured input drive, DC supply, load, correction settings, measurement reference plane, duty cycle, and thermal starting condition fixed. Then change only one cable assembly or one connector end at a time.
This guide covers crimped coaxial RF cable assemblies and their connector terminations. Removable RF adapters, feeder-loss calculations, cable-grade selection, and full installed-path VSWR failures need separate checks.
1. What Connector Crimping Problems Change in an RF PA Path
A coaxial connector is part of the RF transmission path. It is not just a mechanical fitting.
A correctly assembled crimped termination should provide:
- center-conductor continuity;
- stable outer-conductor contact;
- controlled dielectric geometry;
- repeatable contact after mating;
- suitable impedance across the required frequency range;
- power capability appropriate to the operating condition;
- mechanical support against cable movement.
Weak termination can affect the RF path in several ways.
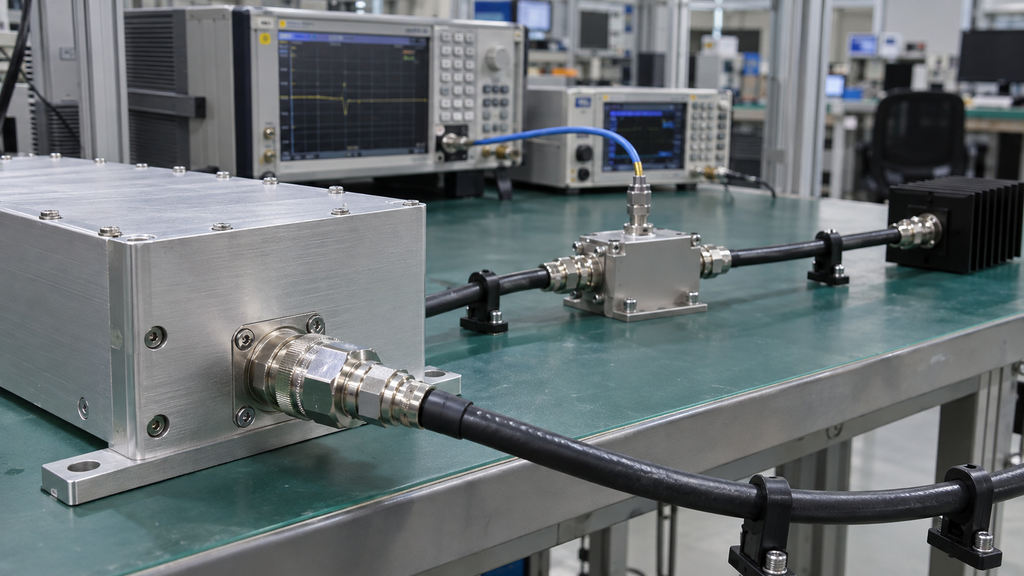
Connector loss
Poor conductor contact can increase insertion loss. The downstream instrument then sees less power even if the PA output stage has not changed.
This can make a compliant PA look weak, especially when factory and customer tests use different cable assemblies or measurement paths.
Connector-related mismatch
A recessed center pin, distorted dielectric, incomplete shield termination, or wrong connector-to-cable combination can create an impedance discontinuity that disturbs RF amplifier impedance matching.
Common symptoms include:
- higher reflected power;
- increased VSWR;
- frequency-dependent ripple;
- unstable output readings;
- protection alarms;
- reduced power delivered beyond the connector.
Loss correction cannot fix this type of mismatch.
Intermittent contact
Some termination faults appear only after the cable moves, heats, vibrates, or changes orientation.
A result may change when:
- the cable is moved;
- the connector heats;
- cable weight pulls sideways on the termination;
- the assembly is disconnected and reconnected;
- stress is applied near the connector exit.
A movement-sensitive result supports investigation of the termination area, but it does not identify the exact internal fault by itself.
Local heating
Poor conductor or shield contact can create local resistance. Under sustained RF power, that resistance may produce abnormal heating near the connector.
Heating can also change contact behavior or damage the termination if the assembly is being pushed beyond its rated condition.
Establish a dummy-load baseline before blaming either the connector or the PA for a reflected-power change.
The baseline should define the PA, measured input drive, DC voltage under load, frequency points, approved reference cable assembly, dummy load, measurement plane, correction settings, duty cycle, dwell time, and thermal starting condition.
Treat the reference cable as known good only after its identity and RF behavior have been verified under conditions suitable for the comparison. Without that controlled reference, the test team cannot isolate the PA, cable, connector, adapter, load, or instrument setup.
2. What Visual and Continuity Checks Cannot Prove
Visual inspection and DC continuity are useful screening checks. Neither proves RF performance.
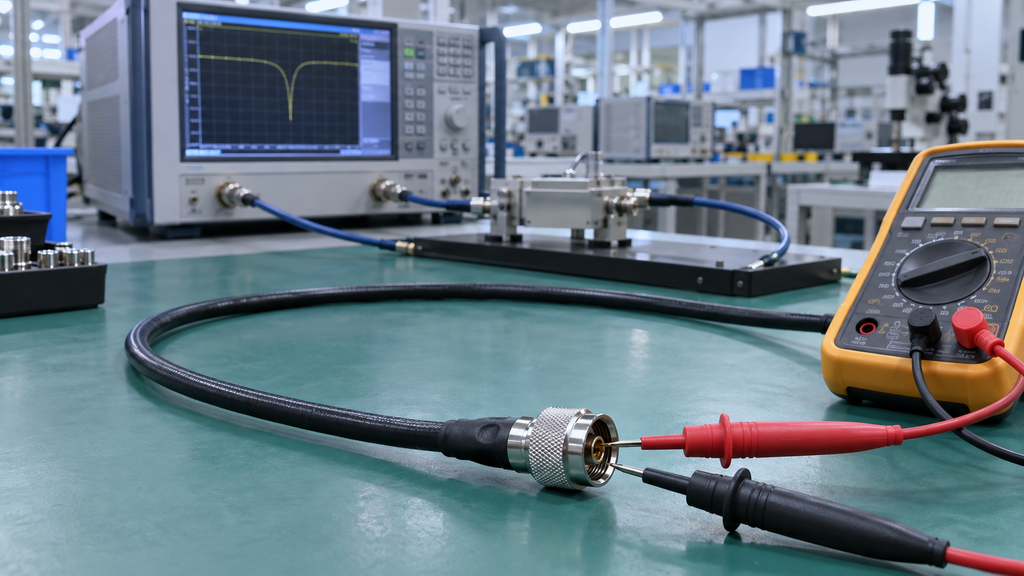
What visual inspection can reveal
A visual check may find:
- damaged threads;
- a recessed or bent center pin;
- corrosion or contamination;
- displaced or damaged dielectric;
- a loose crimp sleeve;
- exposed or poorly captured shield braid;
- cable-jacket damage;
- weak strain relief;
- signs of overheating.
Any of these findings can justify removing or rebuilding the cable assembly before more RF testing.
A connector can still look normal while it has an internal geometry or contact problem.
What DC continuity can reveal
A multimeter can confirm that:
- the center conductor is not open;
- the shield path is not open;
- the center conductor is not shorted to the shield;
- the circuit has no gross mechanical break.
That catches major assembly faults.
DC continuity does not prove:
- controlled 50Ω impedance;
- acceptable return loss or VSWR;
- stable behavior at the required frequency;
- adequate shield contact under RF;
- repeatability under sustained power;
- repeatability after movement or reconnection.
A connector can remain electrically continuous and still behave poorly as an RF transition.
Visual inspection catches obvious damage. DC continuity catches opens and shorts. Neither proves that the connector remains a stable RF transition across the required frequency and operating condition.
RF validation is still required
Use the evidence needed for the actual project decision. Depending on the application, that may include:
- return loss or VSWR;
- FWD and REV power;
- insertion loss;
- results at project-defined frequency points;
- output stability;
- connector temperature;
- controlled movement checks;
- before-and-after cable substitution.
Not every project needs every test. Match the evidence to the frequency range, RF power, duty cycle, environment, and acceptance risk.
3. How to Inspect the Pin, Shield, Dielectric, and Strain Relief
Inspect the connector as a complete termination. The external metal body tells only part of the story.
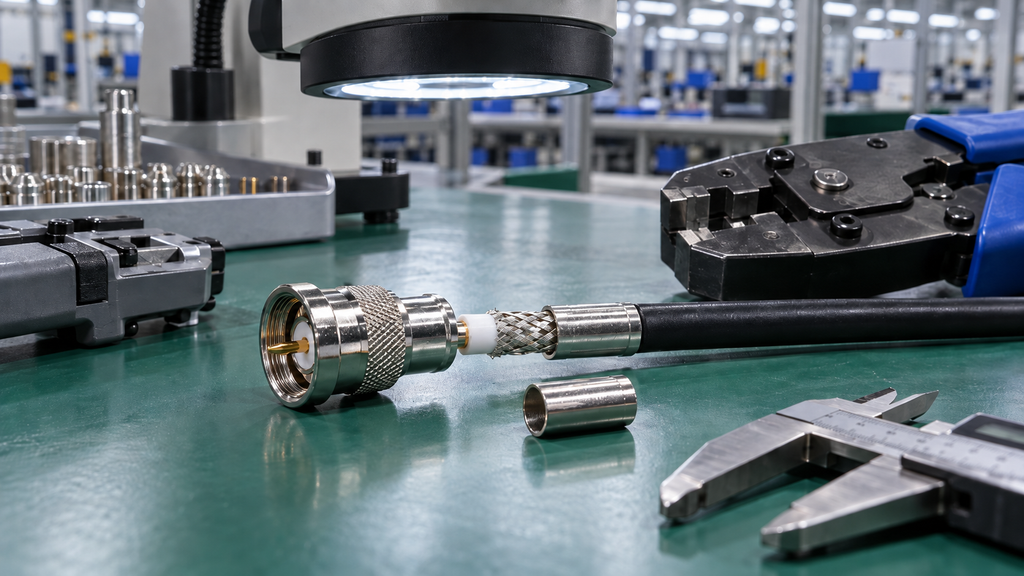
Check the center pin
The center pin should be:
- at the manufacturer-specified depth, when the manufacturer defines one;
- straight and centered;
- clean and undamaged;
- securely attached to the center conductor;
- free from visible burning or pitting.
A recessed pin may make partial or unstable contact. An extended or misaligned pin can damage the mating interface or disturb the RF geometry.
Do not judge pin depth by appearance alone when the connector manufacturer provides a dimension or inspection method.
Check the dielectric
Inspect the dielectric for:
- cracking;
- compression;
- displacement;
- melting;
- contamination;
- uneven spacing around the center pin.
The dielectric sets the connector geometry. Distortion can affect impedance even when DC continuity looks normal.
Check the shield termination
The shield must make complete, repeatable contact with the connector body.
Look for:
- folded-back braid;
- missing braid strands;
- uneven shield capture;
- braid trapped in the wrong area;
- loose crimp pressure;
- incorrect cable preparation;
- corrosion between shield and connector body.
Poor shield contact can increase loss, disturb impedance, reduce shielding effectiveness, and make the result sensitive to movement.
Confirm connector-to-cable compatibility
The connector must match the actual cable construction, including:
- center-conductor diameter;
- dielectric diameter;
- shield construction;
- jacket diameter;
- cable-preparation dimensions;
- required crimp sleeve;
- correct crimp die.
A connector can physically fit a cable and still produce an unreliable termination.
If the connector and cable were mismatched during procurement, review the required RF PA cable grade before rebuilding the assembly.
Check the crimp sleeve and tool marks
The crimp sleeve should be positioned and compressed according to the connector assembly procedure.
Check for:
- incomplete crimping;
- excessive deformation;
- incorrect crimp profile;
- wrong die;
- sleeve movement;
- cable-jacket damage;
- unsuitable assembly tools.
The goal is not maximum compression. Too much force can deform the connector, dielectric, or cable structure.
Check strain relief and cable support
A correctly terminated connector can still become unreliable if the cable keeps loading the termination.
Confirm that:
- heavy cable is supported;
- the first bend does not force the connector sideways;
- cabinet routing does not load the crimp point;
- movement is not concentrated at the termination;
- the cable cannot rotate the mating interface.
Check a removable transition separately as an RF adapter error instead of treating it as a connector-crimping defect.
4. How to Isolate a Connector Fault with an Approved Reference Cable
Do not cut, recrimp, or replace several RF-path components at the same time. That may restore the system, but it will not show which change fixed the fault.
Use an approved reference cable assembly whose identity and RF behavior have already been verified. Change one variable at a time.
Before disconnecting or moving RF hardware, remove RF drive, de-energize the relevant path, and let high-power connectors and loads cool according to the test procedure.
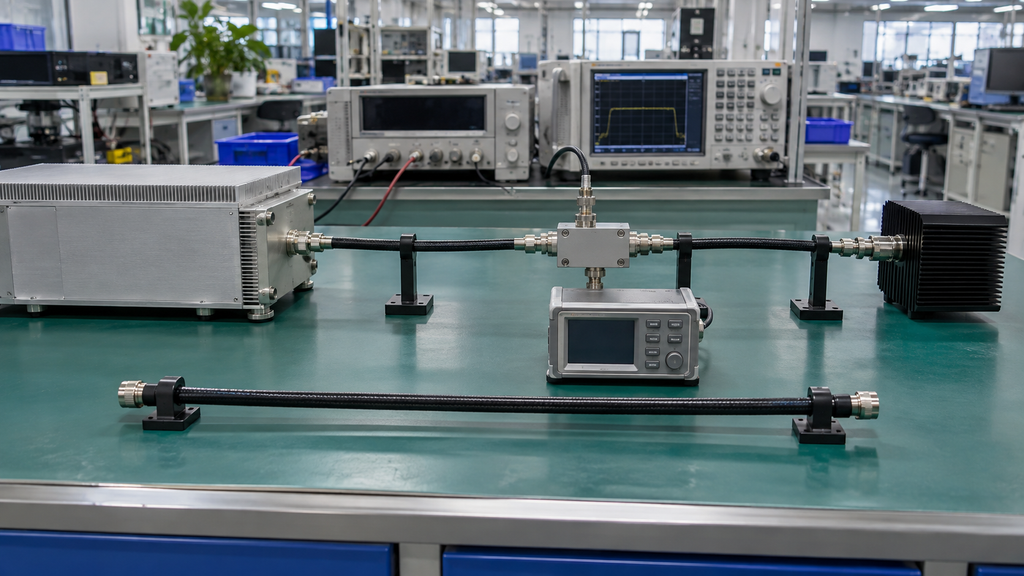
Step 1: Establish the approved reference path
Connect the PA to a verified 50Ω dummy load through the approved reference cable.
Keep these conditions fixed:
- RF PA module;
- measured input-drive level;
- frequency;
- DC supply voltage under load;
- dummy load;
- directional coupler;
- power-meter position;
- measurement reference plane;
- correction settings;
- duty cycle;
- dwell time;
- thermal starting condition.
Record the measurements required by the test, which may include:
- raw output power;
- corrected output power;
- FWD;
- REV or VSWR;
- DC voltage and current;
- connector temperature, if required;
- alarm state.
Step 2: Replace only the cable assembly
Remove the approved reference cable and install the suspect cable assembly.
Do not change the load, input drive, instrument settings, correction values, adapters, test frequency, PA cooling, or DC supply.
Repeat the same frequency points and power condition.
If the alarm, VSWR increase, output loss, or instability follows the suspect cable assembly under the same comparison boundary, the evidence supports an external RF-path cause. It does not yet prove whether the cause is the connector termination, cable body, mating interface, or another part of the cable assembly.
Step 3: Check for movement-sensitive behavior
Perform a powered movement check only when the approved test procedure allows it and the required safety controls are in place.
If the approved test procedure does not allow powered movement, remove RF drive, de-energize the path, reposition the cable, restore the defined test condition, and repeat the measurement.
When a powered movement check is required, move only the diagnostic area, such as:
- the PA-side connector;
- the load-side connector;
- the strain-relief point;
- the first cable bend.
Do not sharply bend, twist, pull, or overload a high-power RF cable or connector during an energized test.
Record whether FWD, REV, VSWR, or output changes during the comparison.
A repeatable change near one connector end supports investigation of that termination for weak strain relief, incomplete shield capture, unstable center-conductor contact, or nearby conductor damage.
Step 4: Rework one connector end at a time
When both connector ends can be serviced, do not rebuild both ends together.
Use this sequence:
- Record the original cable assembly ID.
- Rework or replace only one connector end.
- Repeat the reference comparison.
- Record the result.
- Evaluate the other connector end only if the fault remains.
Otherwise, the repair may restore the RF path without showing which termination caused the problem.
Step 5: Confirm repeatability
After repair, repeat the connection and measurement process.
One successful reading is not enough when the original problem was intermittent.
Confirm that the acceptance conditions remain repeatable after reconnection. Record the final cable and connector identities.
RF Connector Symptoms and Proof Needed
| Symptom | Check First | Evidence Needed Before Assigning the Fault |
|---|---|---|
| Alarm disappears after cable replacement | Suspect cable assembly and connector ends | Same PA, load, frequency, drive, reference plane, and correction state |
| VSWR changes during controlled cable movement | Strain relief, shield capture, contact stability | Stationary versus controlled-movement comparison |
| Problem appears mainly at one frequency region | Pin alignment, dielectric, connector-to-cable match | Comparable results at the project-defined frequency points |
| Connector develops abnormal heat | Contact condition, crimp quality, applicable power capability | Temperature trend under defined RF level, duty, and dwell |
| DC continuity passes but RF behavior changes | Internal geometry and shield termination | RF return-loss, VSWR, or controlled substitution evidence |
| Reworking one connector end removes the fault | Reworked termination | Before-and-after evidence using the same cable assembly and controlled test boundary |
5. When Frequency, Heat, or Movement Evidence Is Needed
Not every connector problem needs a full-power or environmental test. Add evidence only when the suspected failure mode depends on frequency, sustained RF power, temperature, movement, or another project-specific stress condition.
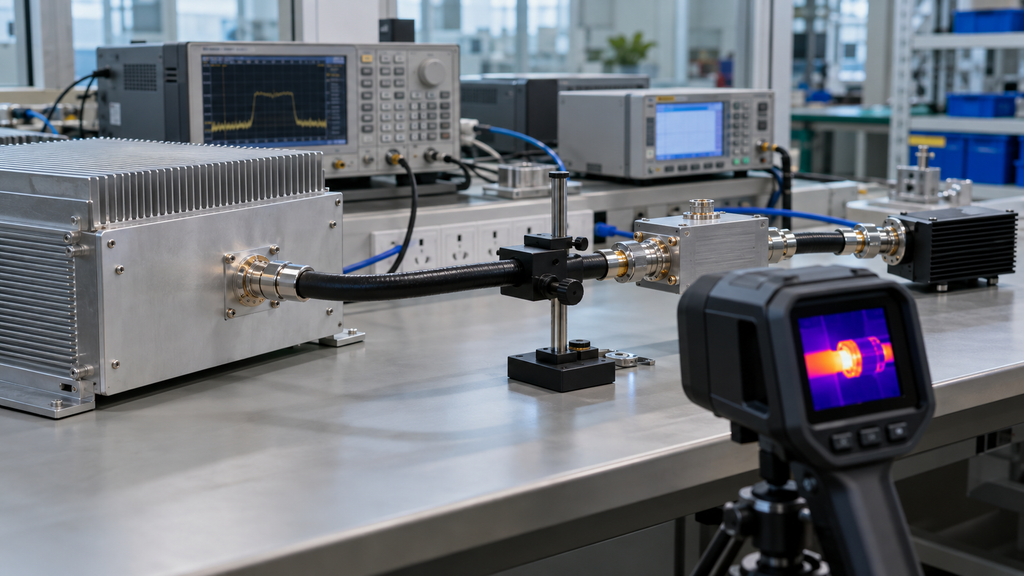
Frequency-dependent behavior
Small errors in pin position, dielectric geometry, shield termination, or connector-to-cable compatibility may show up more clearly at some frequencies.
A cable assembly may look acceptable at one frequency and show worse mismatch, insertion loss, or repeatability elsewhere in the required band.
Use the project-defined frequency points. Do not approve the termination from one convenient center-frequency result.
When full-power conditions can expose contact problems
A low-power RF amplifier VSWR test can characterize the connector and cable assembly within the defined test boundary. It does not prove how the same termination will behave at the required RF power, duty cycle, and dwell.
If the project requires hot-state evidence, include the termination in the relevant swept-frequency full-power RF PA test.
Record the conditions needed to interpret the result:
- frequency;
- measured input drive;
- defined output reference plane;
- DC voltage and current;
- RF power condition;
- duty cycle;
- dwell time;
- cooling condition;
- FWD;
- REV or VSWR;
- connector temperature, if required.
A change that appears only during sustained operation supports further investigation of contact condition, crimp quality, or connector capability. It does not identify the physical defect on its own.
Compare cold and hot behavior only when the decision requires it
When heating is part of the suspected failure mode, compare connector behavior at defined thermal states, such as before the run, after the required dwell, after cool-down, or after reconnection.
Keep the test boundary and measurement conditions consistent enough for the comparison to mean something.
Use movement evidence only for a movement-sensitive fault
If a static bench test passes but the field symptom appears during cable movement or vibration, controlled mechanical evidence may be relevant.
The question is narrow: Does RF behavior change repeatably when controlled mechanical stress is applied near the suspected termination under the approved project-defined test condition?
If yes, investigate the termination and strain-relief region before assigning the failure to the PA.
6. What Evidence Is Strong Enough to Assign the Fault to a Connector Termination
A reflected-power or VSWR alarm is a symptom. It does not identify the failed component.
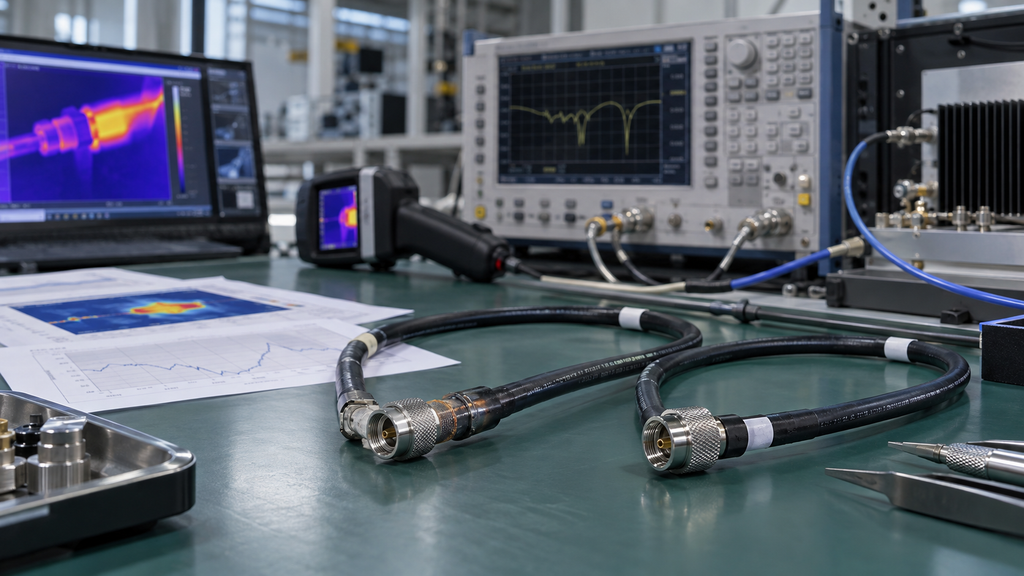
Possible external causes include:
- connector termination;
- removable adapter;
- damaged cable;
- loose mating interface;
- water ingress;
- protection devices in the path;
- antenna mismatch;
- damaged load;
- incorrect measurement setup.
A connector termination becomes the leading cause only when several observations point to it.
Stronger connector evidence includes:
- the abnormal result follows one cable assembly;
- the approved reference cable restores the expected condition;
- the behavior changes repeatably near one connector end;
- reworking or replacing one connector end removes the abnormal result;
- the before-and-after comparison uses the same test boundary;
- abnormal heating is localized at the suspect termination when thermal evidence is required;
- the PA behaves normally through the approved reference path.
No single item proves the full physical failure mechanism. The case gets stronger when independent observations point to the same termination under controlled conditions.
Evidence that is not enough by itself
These observations do not prove a connector-crimping fault:
- one alarm indication;
- one lower output reading;
- visual discoloration without supporting RF evidence;
- continuity alone;
- a different customer power-meter result;
- a reading taken from a different measurement plane;
- a result obtained after several components were replaced together.
A connector is only one possible cause of RF PA VSWR field failures. Review the complete installed path when the failure appears only after installation.
Separate PA protection response from PA failure
An external high-reflection condition may trigger RF power amplifier load mismatch protection, which can reduce output, report a REV or VSWR alarm, mute, limit, or enter protection depending on the PA design.
Do not describe that response as PA failure until the reference path has been checked.
Before replacing the amplifier, restore the approved reference cable and dummy-load path. Repeat the applicable acceptance measurement.
If the PA returns to its accepted condition through the approved reference path, the evidence points more strongly to an external RF-path cause than to an internal PA output-stage fault.
7. What Connector-Termination Evidence Belongs in RFQ and Acceptance
Define connector reliability before the cable assembly reaches final acceptance.
The RFQ does not need to reproduce every cable-routing, environmental, or system-level requirement. For connector termination, focus on the information needed to build and verify a repeatable assembly.
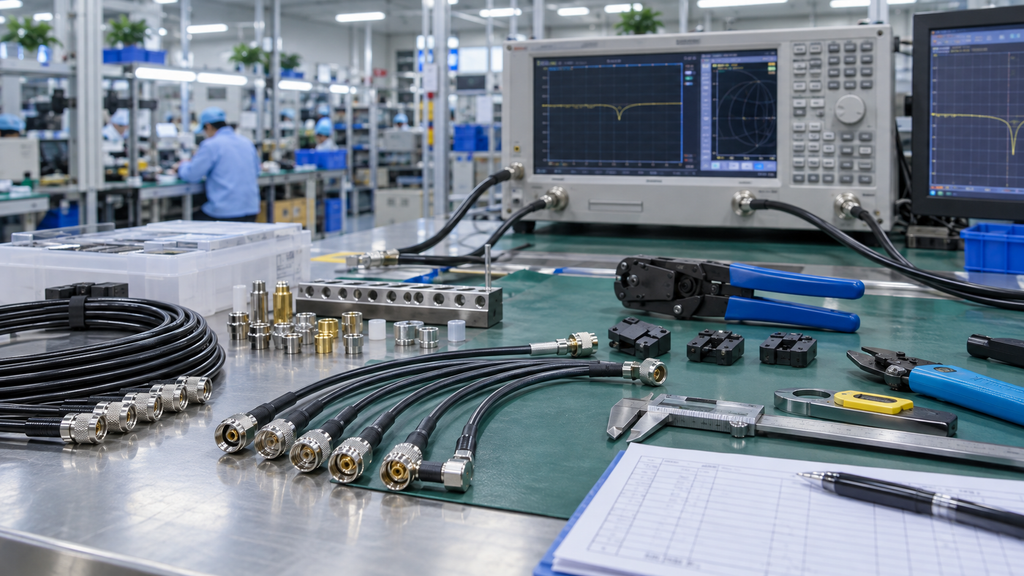
Define the connector and cable as one termination system
Where relevant, specify:
- cable model or construction;
- connector model or interface;
- center-pin attachment method;
- shield termination method;
- crimp sleeve;
- required crimp tool and die;
- cable-preparation dimensions;
- strain-relief method;
- applicable frequency range;
- applicable RF power condition.
Do not approve a connector only because its interface mates mechanically with the PA.
Require traceable assembly information when the project risk justifies it
For production or higher-risk assemblies, traceability may include:
- cable assembly ID;
- connector model or controlled part reference;
- cable type;
- assembly date or production reference;
- tool and die reference, if required;
- visual-inspection result;
- continuity result;
- RF validation result;
- repair or rework history.
Match the traceability level to the project risk. A lab jumper does not need the same documentation package as a production cable assembly in a high-power system.
Define the RF acceptance evidence
Depending on the project, connector-termination acceptance may include:
- insertion loss;
- return loss or VSWR;
- results at project-defined frequency points;
- FWD and REV under the required RF condition;
- connector temperature when thermal behavior matters;
- repeated connection results;
- controlled movement evidence when relevant;
- final acceptance limits from the RFQ, specification, contract, or approved test plan.
The RF amplifier test report should identify the measurement reference plane and the tested RF path. A final number without a defined test boundary cannot show whether the connector assembly was included in the result.
Frequently Asked Questions
Can a connector pass continuity but fail under RF?
Yes. DC continuity can show that the path is not open or shorted, but it does not prove controlled impedance, acceptable VSWR, or repeatable behavior at the required frequency and RF condition.
How do I separate a connector fault from an adapter fault?
Test the terminated cable assembly and the removable adapter as separate variables. Change only one component at a time and compare each result with the same approved reference path.
Can poor crimping cause connector heating?
Yes. Poor conductor or shield contact can contribute to local heating under sustained RF power. Confirm it under a defined RF level, duty cycle, dwell, and thermal condition before assigning the cause.
What should a connector test report include?
Record the cable or assembly ID, connector identification, frequency, measurement reference plane, applicable RF power data, FWD and REV or VSWR where required, correction state, relevant thermal evidence, and the final acceptance basis.
Check the reference path before replacing the PA. If the abnormal result follows the suspect cable assembly under a controlled comparison, continue isolating the cable and connector termination. If the same result remains through the approved reference path, widen the investigation instead of forcing a connector diagnosis.
RFQ and Purchasing Takeaway
For an RFQ involving custom RF power amplifier modules, define the required frequency range, output reference plane, connector and cable interface, RF power condition, VSWR or reflected-power boundary, duty cycle, cooling condition, control requirements, and test evidence needed for the purchasing decision.
These inputs support engineering review and RFQ definition. They do not, by themselves, confirm that a specific RF PA model is suitable for the project.